Tuesday, April 17, 2012

A Bowl of Sun

This is the time of year in Florida that makes me love where I live. The mornings are cool and crisp and the afternoons are a just warm enough so you can sit outside in the shade with some friends and enjoy a cup of coffee without feeling like you're wilting. And since today happened to be the morning of my 8 a.m. class, I was able to do just that. There is nothing more spiritually uplifting than taking a few hours out of the day to sip Starbucks and reflect on what is going right in the lives of dear friends. If I have taken anything away from my years in therapy, it is that healing is synonymous with giving yourself permission to stop moving and exist peacefully for a while. So the next time you have an opportunity to take a moment out of your schedule to simply be present and in touch with your spiritual health, I encourage you to take it. They are rare, but the ripple affects in your everyday life are both profound and lasting.


The rest of my day was pretty typical, but when I got home, I was still so inspired by the day that I decided to treat myself to some sun-inspired pasta using ingredients I had in my fridge and pantry like sundried tomatoes, sunflower oil, and sunflower seeds. The result was something both satisfying and fresh, a perfect tribute to this amazing day.


Sun-Inspired Pasta with Roasted Vegetables

1 cup of bowtie pasta
1 small zucchini
1/2 yellow onion
1/2 red bell pepper
1/4 cup sundried tomatoes
1 clove of garlic
2 T sunflower seeds
1 tsp flax seeds
1 T sunflower oil
Fresh thyme and rosemary
salt and pepper to taste


Set a pot of water to boil and preheat oven to 400. Meanwhile, chop up all the vegetables into bite sized pieces. Place on a baking sheet and toss with oil, herbs, salt, and pepper. Place in the oven and bake for 10 minutes, stirring occasionally to avoid burning. Add pasta to salted water. Cook according to instructions (10-14 minutes). Drain and place in a bowl along with the seeds. Top with vegetables and your seasoning of choice.


Yield: 1 bowl of pasta


Monday, April 16, 2012

For Two: Portabella Mushroom Burgers

Last night, I went a little overboard with dinner.

It’s not exactly a secret, but I am obsessed with mushrooms. I seriously can’t get enough of them. I eat them plain, in pasta, over rice, in sauces, on salads, in soups, marinated, sautéed, stuffed, you name it. So when the craving for burgers presented itself, I naturally made it all about the mushroom.
 

Grilled, Marinated Portabella Mushroom Burgers with Grilled Vegetables and Avocado Spread

For Burgers:

2 medium sized portabella mushrooms
1/3 cup soy sauce
2 T butter, melted
1 garlic clove, chopped
1t brown sugar
 
For Avocado Spread:


2 ripe avocados
1 tsp lemon juice
1/4 tsp salt

I wanted something to balance the textures and flavors of the burger, so I came up with a few simple, yet delicious sides:


Homemade Toasted Sesame Potato Chips

1 large russet potato
2 T toasted sesame oil
salt to taste


Corn on the Cob

2 ears of corn


Bite-Sized Banana Splits

(Dessert inspired by OhSheGlows. Ice cream inspired by Whole Foods Market)
2 frozen bananas
2-3 strawberries
1 cup vanilla soy milk
2 T almond butter
6 oz dark chocolate
1 T canola oil
½ cup pecans, chopped
½ cup shredded coconut


One of the things I find extremely helpful when preparing a detailed menu is taking the time to think about what menu items take the most time. For this particular meal, the item that is the most time consuming is the Bite Sized Banana Splits (dessert before dinner!). The first thing you will need to do is freeze two bananas. Ideally, this will have been done a day in advance, but the ice cream will work just as well for this purpose if the bananas are only partially frozen. Once the bananas are frozen, place them in a blender with a cup of vanilla soy milk and two tablespoons of almond butter. Blend until smooth.


Cover a miniature muffin pan with a sheet of plastic wrap. Spoon equal amounts of the ice cream into the muffin cups, filling to the top. There will be plenty of ice cream left over, and I recommend freezing it for later or, if you’re like me, eating it on the spot. Next, slice up some strawberries and place one slice on top of each cup of ice cream. Place in the freezer for approximately two hours or until the center is no longer liquid.

Meanwhile, you can prepare the mushroom marinade. In a small bowl, combine the melted butter, soy sauce, vinegar, brown sugar, and garlic, whisking to combine. Pour the mixture over the cleaned mushroom caps in a large plastic bag and place in the refrigerator, turning every half hour until ready to grill.

Now comes the fun part: the homemade potato chips.

Just a side note: Before yesterday, I had never made potato chips before and had no idea what to expect. So naturally, I thought it would be a great idea to use unnatural amounts of herbed sea salt on both sides of the chips. (Note to self: There is such a thing as too much salt.)


I am happy to say that attempt two yielded much more satisfying results. Simply preheat the oven to 400 degrees, slice whole, skin-on potatoes to about an 1/8 of an inch, and toss them in toasted sesame oil. Place chips on a baking sheet and sprinkle lightly with salt. Bake for ten minutes, turn chips and bake another twenty minutes, watching carefully so the chips do not burn. Remove them from the oven and place on a wire cooling rack.


And naturally, you’ll have to taste one just to make sure they’re fit for consumption.

Or make that two…

And now onto the second stage of the dessert.

Place the oil and chocolate chips in a microwave proof bowl and microwave on high until the chocolate has melted. Meanwhile, chop the pecans and place in a nonstick skillet, toasting on medium heat until they are nice and golden. Place on a plate with the coconut flakes and mix to combine. Remove the ice cream from the freezer. They should look something like this and be like ice cubes to touch. If they are still liquid in spots, return them to the freezer for another half hour. The chocolate sauce will hold up well at room temperature until you are ready to assemble.

Note: this is an ideal dessert to make with a few kids or extra hands to keep the coconut nice and white, but if you are on your own, use a large spoon to dip the ice cream into the chocolate sauce and then drop into the topping. Be prepared to get really messy fingers.

Place the finished bites on a tray and return to the freezer until ready to eat. Note: thaw five-seven minutes before consuming.

To prepare the avocado spread, slice two ripe avocados lengthwise and mash roughly with a fork. Add lemon juice and salt (I used a seasoned salt mix from Penzey’s Spices, but you can really use any sort of salt for this purpose), stirring until the spread is malleable, but still slightly textured. Cover and set aside.

And we’re almost there. To prepare the vegetables, shuck the corn and set a large pot to boil. Slice onions and peppers and tomatoes in thick slabs. They should look something like this:
The corn will take about ten minutes to cook, so whenever you are ready to begin sautéing the vegetables, put the corn into the boiling water.


Next, preheat the oven to the lowest setting and remove the mushrooms from the marinade. Place them on a medium skillet over medium heat, tossing occasionally to avoid burning. There is no health related reason to cook the mushrooms, but I think the flavor is more concentrated when they have been sautéed for a few minutes. Just be careful not to overcook. Place the mushrooms on a tray with slices of bread and put in the oven to keep warm. Finally, sauté the onions and peppers until they begin to caramelize. Remove the mushrooms and bread from the oven. Spread both sides of the bread with avocado spread, place a mushroom, cap side down on the bottom slice and fill the cavity with the vegetables. Top with the remaining slice of bread and serve alongside the chips and corn with a frosted glass of fresh limeade.

And craving accomplished! I hope you enjoy this as much as I did, but make sure to save room for dessert. Also, using baguettes was a delicious idea, but also a completely impractical one. If you actually want to eat your burger like a burger and not like an uncooperative steak like I was forced to do, use a softer roll or even a pita instead.

Yield: 2 burgers

Saturday, April 14, 2012

Maple Almond Butter Crêpes with Toasted Walnuts and Orange Blueberry Sauce


I can't stop thinking about the crêpes I had this morning...

If you’ve never had a crêpe before, the best way to explain them is an egg-based, ultra thin French pancake filled with a myriad of savory sauces, jellies, butters, and fruits.

In short: pure deliciousness.

Unfortunately, as delicious as they are, crêpes are also entirely non-vegan. But impossibility has never really affected me, so I set to the Internet to find a basic recipe and stumbled across a real gem at VeganYumYum.

After a few slight alterations and a whole lot of whimsical superfluities, I came up with my version of the classic French crêpe:

Maple Almond Butter Crêpes with Toasted Walnuts and Orange BlueberrySauce
adapted from VeganYumYum's Spring Crêpes Three Ways

For the Crêpe Batter:

1 cup flour
¼ teaspoon fresh nutmeg
Pinch of salt
1 tsp brown sugar
1 T maple syrup
½ cup vanilla soymilk
2/3 cup water
¼ cup olive oil
2 tsp vanilla

For the Filling:

1 cup walnut halves
1 cup blueberries
¾ cup maple syrup
1 tsp orange zest
1 tsp orange extract

And here’s how you make them (for the quick and dirty version, click here):

The first thing you will want to do is measure out all of your ingredients. 

I like my breakfast crêpes to have a hint of sweetness, so I blended maple syrup and brown sugar to achieve a warmer flavor. However, if you want to make savory crêpes, just leave the sweeteners out.

Next, combine all of the ingredients in a medium sized bowl and whisk until the batter is smooth and free of lumps. Place in the refrigerator for a half an hour.

Meanwhile, you can prepare the walnuts and orange blueberry sauce.

Place the walnuts inside a skillet and set to medium heat, tossing occasionally to achieve an even toast. 


Or, you could do what I did and leave them sit and achieve a lovely uneven black.

Anyway…
 
While the walnuts are toasting, pour the maple syrup, blueberries, zest, and extract into a small sauce pan and set to medium high heat. The maple syrup will come to a boil relatively quickly, so keep an eye on it so it doesn’t boil over. Stir occasionally for approximately ten minutes or until the berries begin to break down and the sauce thickens. 
Pour into a bowl and set aside.

By now, the crêpe batter should be nice and set. When I pulled mine out, it was a little bit thick, so I added about two tablespoons of water to the batter, which made it more pourable.

Heat a medium sized skillet over medium heat. (An easy way to tell if a skillet is hot enough is to flick some water onto the surface. If it sizzles, you are ready to go). The first crêpe I made was naturally a disaster. I used a scant quarter cup of batter and poured it directly onto the surface like you would a pancake. The result?
A little on the small size…but the good thing is I had an excuse to try my orange blueberry sauce and may I just say Yum.

Not to be discouraged by the first flop, I came up with a three-step technique. First, I picked up the skillet so it wasn’t directly on the heat source, then I used a ladle to swirl the batter onto the skillet rather than plop it in a heap like I did before. Lastly I used the flat side of a spoon to smooth out the batter until it covered the entire pan in one thin layer.


Ahhh perfection…

Eventually, after about three minutes, the edges of the crêpes should start to look golden brown. When this happens, use a spatula to flip the crêpes onto the other side and cook for about another minute.

Tahdah!

The best time to assemble these crêpes is right when they come off of the skillet as the heat from crêpes aids in the spreading of the almond butter. I used about three tablespoons to cover the entire crêpes, but feel free to use more or less depending on how much nutty flavor you want. Finally, sprinkle with walnuts, fold in thirds, and top with blueberry sauce. Enjoy in a garden with a glass of fresh squeezed orange juice.

Yield: 6 crêpes


A few tips:

If the crêpes split during flipping, apply some batter over the cracks like Spackle. After you have finished browning the current side, flip and allow the batter Spackle to set.

If you want to make all the crêpes at once, simply reheat the finished crêpes on the stove when ready to eat.

To make crêpes for a smaller crowd, simply halve the filling recipe and freeze the remaining crêpes.  Whatever you do, do NOT fold the crêpes before freezing. I did this my first time saving crêpes and ended up with crêpes crumbs.  Thaw in a microwave or skillet.

Friday, April 13, 2012

Inspiration in a tree, a cup, and a piece of chocolate


I didn't want my first day as a blogger to go by without a post, so even though I'm running short on time, here's a compilation of things I've found particularly inspiring about this past week:

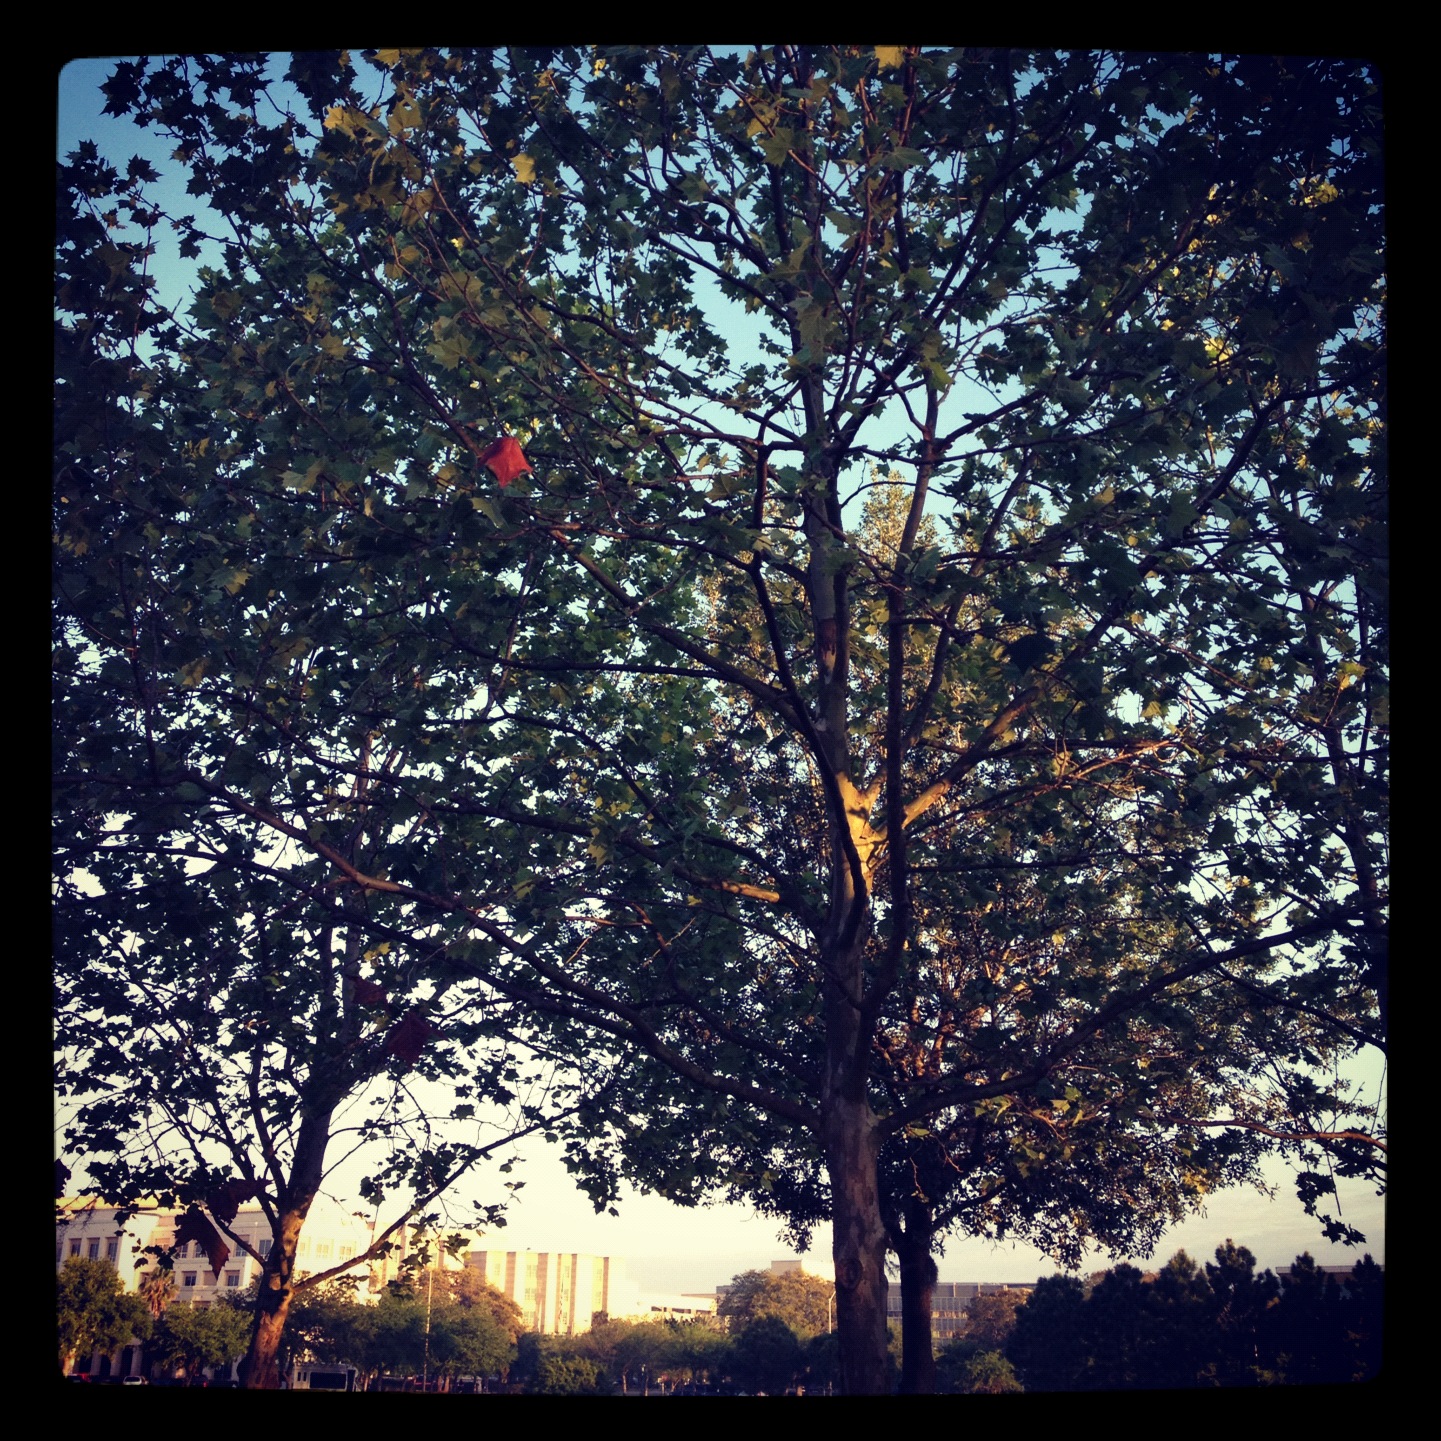
This single red leaf. Every time I look at this picture, I'm reminded to always embrace my individuality. Uniqueness is perhaps the most beautiful quality we possess as humans.


This antique tea set. I have used this as decoration on my bookshelf next to my favorite classics like Jane Eyre and Alice in Wonderland for years. On a whim, I decided to take it off the shelf and fill it with some jasmine green tea. I was reminded to never save something for a special occasion when I can enjoy it today.


This chocolate. So far, one of the most enjoyable parts of being vegan is my awakened love for chocolate. This one was filled with almonds and salted caramel. During the photo shoot, the heat from the tea melted half of the chocolate, leaving me with no other choice but to eat it all.

And yes…I did lick the cup and saucer. I have no shame when it comes to chocolate.